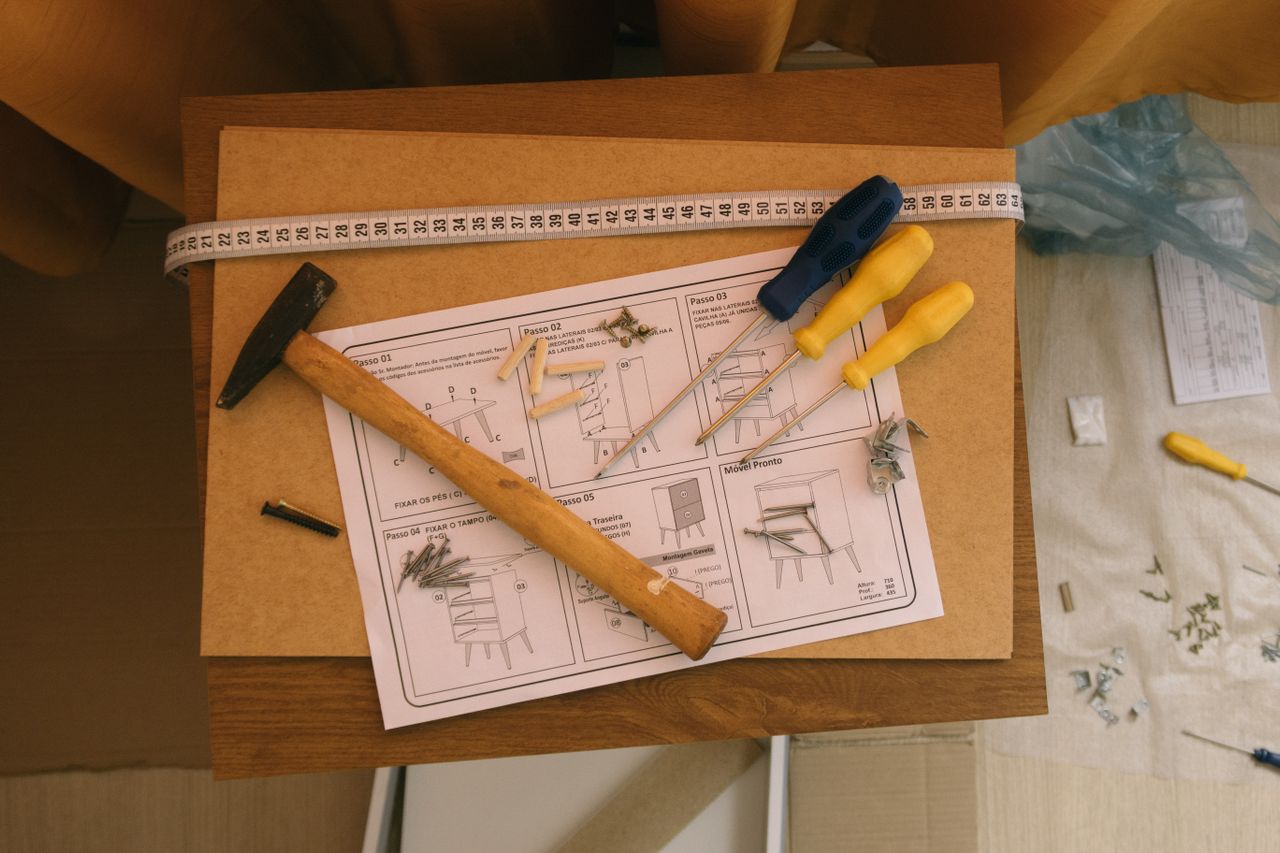

A home renovation can add comfort, value, and years of life to a house, but only when the work happens in the right order. Skipping a step, such as checking the heating and cooling system before new floors go down, or confirming insurance coverage before a big upgrade, often leads to rework, delays, and surprise costs. A clear home renovation checklist keeps the project organized from the first measurement to the final walkthrough.
This guide walks through each stage of a typical renovation, from planning and site preparation to systems, flooring, and finishing touches. Use it as a working list you can print, adjust, and check off as your project moves forward.
Key Takeaways
- Set a clear scope and budget first, and keep a 10–20% contingency for surprises.
- Prepare the site properly before any building or major exterior work begins.
- Inspect heating, cooling, plumbing, and electrical systems before covering walls and floors.
- Review your insurance policy so you know what is protected during and after the project.
- Choose flooring room by room, based on traffic, moisture, comfort, and upkeep.
- Save finishing touches, like stone accents and landscaping, for the final stage.
- Vet contractors carefully and get every agreement in writing.
1. Define Your Goals, Scope, and Budget
Every successful renovation starts on paper. Before calling anyone or buying materials, decide what you want the project to achieve. Are you fixing problems, such as drafts, leaks, or worn floors? Are you improving comfort or energy efficiency? Or are you updating the look of the home before a sale?
Write down each room or area involved and what needs to change. Then rank the items by priority. Safety and structural issues come first, followed by systems like heating, plumbing, and electrical, and then cosmetic upgrades. This order protects your budget, because cosmetic work is the easiest to delay if costs rise.
When you set the budget, include materials, labor, permits, waste removal, and temporary living costs if parts of the home will be unusable. Add a contingency of 10–20% for problems that only show up once walls, floors, or ceilings are opened.
Checklist for this stage:
- List the goals for the project and the rooms involved.
- Rank tasks by safety, function, and appearance.
- Set a total budget with a contingency.
- Decide which tasks you can do yourself and which need professionals.
- Check local permit requirements before any work starts.
2. How Do You Choose the Right Contractors?
The people you hire shape the quality, cost, and timeline of the whole project. Even if you plan to handle some tasks yourself, most renovations involve at least a few professionals, such as electricians, plumbers, HVAC technicians, or flooring installers. Taking time to compare options at the start helps you avoid delays and disputes later.
Ask for at least three written quotes for each major job, and make sure each quote covers the same scope so you can compare them fairly. The lowest price is not always the best value. Look closely at what is included, how long the work will take, and how the contractor handles changes.
Before you sign, check the following:
- License and insurance: Confirm the contractor is licensed for the work and carries liability and workers’ compensation coverage.
- References and past work: Ask for recent references and photos of similar projects, and contact at least one past client.
- Written contract: Get the scope, materials, timeline, payment schedule, and warranty terms in writing.
- Payment terms: Avoid paying most of the cost up front. Tie payments to completed stages of work.
- Communication: Agree on who your main contact is and how often you will receive updates.
3. Prepare the Site Before Building
If your renovation includes an addition, a new garage, a large patio, or other work on open ground, site preparation comes before anything else. Trees, stumps, rocks, and dense brush need to be removed, and the ground may need grading so water drains away from the house.
Small, open areas can sometimes be cleared by hand. Larger or overgrown lots, steep slopes, and wet ground usually need heavy equipment and experience with local environmental rules. If you are unsure where your project falls, this guide on how to prepare land for building explains how to judge the scope and when professional help makes sense.
Checklist for this stage:
- Mark property lines and any underground utilities.
- Remove trees, stumps, stones, and debris from the work area.
- Grade the ground so water flows away from the foundation.
- Confirm access for delivery trucks and equipment.
- Check whether clearing or grading needs a permit.
4. Inspect Heating, Cooling, and Other Core Systems
Major systems are easiest to repair or replace while walls, ceilings, and floors are open. Once new drywall and flooring are installed, getting to ducts, pipes, and wiring becomes more expensive and disruptive.
Start with the heating, ventilation, and air conditioning system. Watch for warning signs such as strange noises, weak airflow, uneven temperatures, rising energy bills, and musty odors. These can point to problems that are cheaper to fix now than after the renovation. For a closer look at what to watch for, see these signs your HVAC needs repair.
Also review plumbing and electrical systems. Older homes may have outdated wiring, too few outlets, or aging pipes that should be replaced before new finishes go in. If you are adding rooms or square footage, confirm that your heating and cooling system has enough capacity for the larger space.
A renovation is also a good time to improve energy efficiency. Adding insulation, sealing air leaks around windows and doors, and upgrading to a programmable or smart thermostat can lower monthly bills and make every room more comfortable. These upgrades are far easier to complete while the house is already under construction.
Checklist for this stage:
- Have the HVAC system inspected and serviced.
- Replace filters and check ductwork for leaks or blockages.
- Inspect visible plumbing for leaks, corrosion, and low water pressure.
- Check the electrical panel capacity and outlet placement.
- Plan any system upgrades before walls and floors are closed.
5. Review Your Insurance Coverage

Insurance is easy to overlook during a renovation, but it matters at every stage. A remodel can change the value of your home, introduce new risks while work is underway, and affect what your policy covers afterward.
Call your insurer before the project begins. Ask whether you need to update your coverage limits, whether contractors must carry their own liability insurance, and how the policy handles damage that happens during construction. Ask about water damage too, because floors are often the first thing affected by leaks or flooding. This guide answers a common question, does home insurance cover floor damage, and explains the main gaps, including the difference between sudden leaks and rising outdoor water.
Checklist for this stage:
- Tell your insurer about the planned renovation.
- Confirm contractors carry liability and workers’ compensation coverage.
- Update coverage limits to reflect the home’s new value.
- Ask how water and flood damage are handled.
- Keep receipts and photos of all completed work.
6. Choose the Right Flooring for Each Room
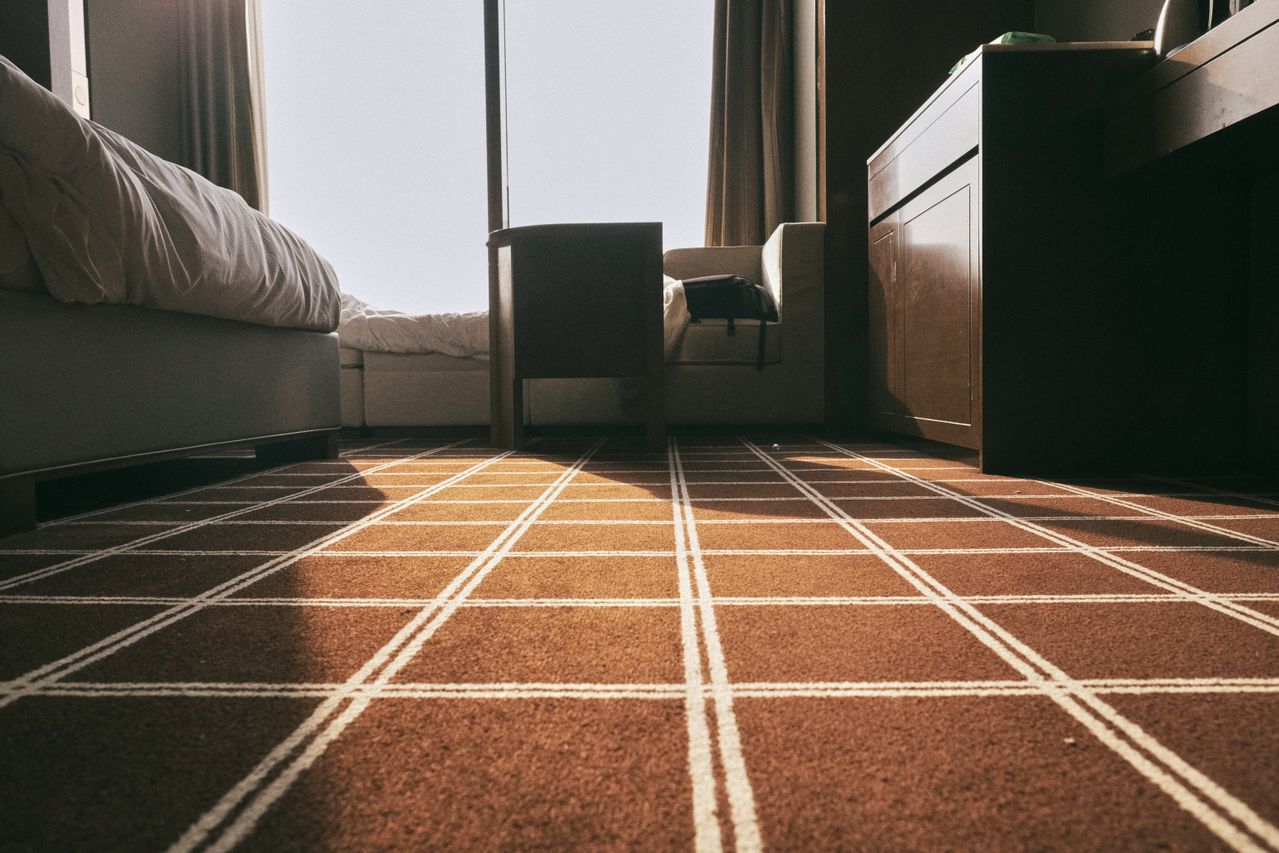
Flooring has a big effect on how a home looks, feels, and sounds. It is also one of the larger line items in most renovation budgets, so it pays to choose carefully.
Think about each room separately. Kitchens, bathrooms, and laundry rooms need materials that handle moisture well, such as tile or quality vinyl. High-traffic areas like hallways and entries benefit from durable, easy-to-clean surfaces. Bedrooms and family rooms are where comfort matters most, and soft options often make sense there. If you are considering softer flooring, this breakdown of the pros and cons of carpet flooring covers comfort, noise, style, and upkeep.
Common options include:
- Hardwood: Warm and long-lasting, and it can be refinished, but it reacts badly to standing water.
- Tile and stone: Durable and water-resistant, which makes them a good fit for kitchens, bathrooms, and entries.
- Luxury vinyl: Affordable, water-resistant, and available in wood and stone looks.
- Laminate: Budget-friendly and scratch-resistant, though most types do not handle moisture well.
- Carpet: Soft, quiet, and warm underfoot, but it needs regular cleaning to stay fresh.
Install flooring after messy work, such as drywall and painting, is complete. That protects the new surface from scratches, spills, and dust.
Checklist for this stage:
- Match each room’s flooring to its traffic, moisture, and comfort needs.
- Order samples and view them in your home’s lighting.
- Plan for underlayment, padding, and transitions between rooms.
- Schedule installation after painting and drywall work.
- Keep spare material for future repairs.
7. Add Finishing Touches Inside and Out
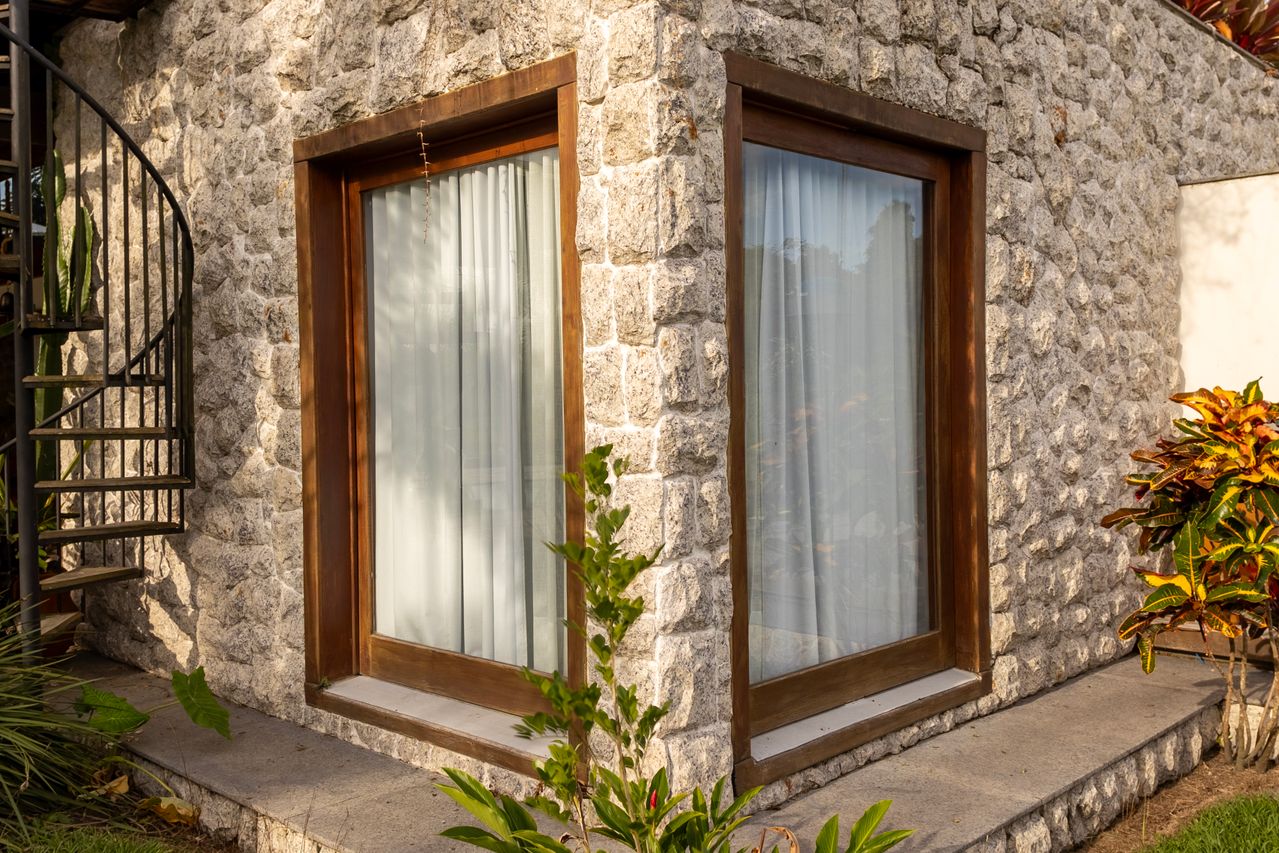
With systems updated and floors installed, the final stage is about character and curb appeal. This is where details like lighting, trim, hardware, landscaping, and decorative materials pull the whole project together.
Natural materials are a popular choice for this stage because they add texture and a sense of permanence. Stone can work on an exterior wall, a front entry, a garden path, a patio, or an indoor feature such as a fireplace surround. For layout and color inspiration, these natural stone design ideas cover both indoor and outdoor uses.
Keep the overall palette simple. Repeating a few colors and materials across the home creates a unified look, while too many competing finishes can make spaces feel busy.
Checklist for this stage:
- Install lighting, fixtures, and hardware.
- Complete trim, paint touch-ups, and caulking.
- Add exterior features such as walkways, patios, and planting beds.
- Check drainage around any new hardscape.
- Choose a consistent color and material palette.
8. What Renovation Mistakes Should You Avoid?
Even well-planned projects can run into trouble. Most problems come from a handful of common mistakes that are easy to prevent once you know what to look for. Reviewing them before work begins can save you money, time, and stress.
- Starting without a full plan: Changing the design halfway through usually adds cost and delays. Settle major decisions before work begins.
- Underestimating the budget: Hidden damage behind walls or under floors is common, especially in older homes. A contingency fund keeps surprises from stopping the project.
- Doing work in the wrong order: Installing new floors before finishing paint or drywall often leads to damage and rework.
- Skipping permits: Unpermitted work can cause problems with insurance claims and when you sell the home.
- Choosing materials on looks alone: A finish that looks great in a showroom may not hold up to moisture, pets, or heavy traffic.
- Ignoring ventilation and drainage: Poor airflow and drainage can lead to mold, rot, and foundation problems over time.
9. Complete the Final Walkthrough
Before you call the project finished, walk through every room with your checklist in hand. Look for incomplete work, damaged surfaces, sticking doors and windows, and anything that does not match the plan. Test every outlet, switch, faucet, and appliance, and run the heating and cooling system to make sure every room reaches a comfortable temperature.
Make a written list of remaining items and agree on a timeline with your contractor before final payment. Collect warranties, manuals, permit sign-offs, and receipts in one folder. These documents help with future maintenance, insurance claims, and resale.
Checklist for this stage:
- Inspect every room and note unfinished items.
- Test plumbing, electrical, and HVAC systems.
- Confirm all permits are closed and inspections passed.
- Gather warranties, manuals, and receipts.
- Hold back final payment until the punch list is complete.
Frequently Asked Questions
What should be done first in a home renovation?
Start with planning, budgeting, and permits, then handle structural work and site preparation. Systems like HVAC, plumbing, and electrical come next, followed by walls, flooring, and finishing touches.
How much contingency should a renovation budget include?
Most homeowners set aside 10–20% of the total budget. Older homes, or projects that open walls and floors, may need the higher end of that range.
Should flooring go in before or after painting?
In most cases, flooring goes in after painting and drywall work, so the new surface is not damaged by drips, dust, or ladders.
How long does a typical home renovation take?
It depends on the scope. A single room might take a few weeks, while a whole-home renovation can take several months. Permits, material delays, and hidden repairs can all extend the timeline, so build in extra time.
Is it better to renovate all at once or in phases?
Renovating all at once can be faster and may cost less overall, but it is more disruptive. Phasing the work spreads out costs and lets you keep living in parts of the home, though it usually takes longer in total.
Do I need to tell my insurance company about a renovation?
Yes. A renovation can change your home’s value and risk, so your insurer should know about the project before it starts.
Conclusion
A home renovation goes more smoothly when each step happens in the right order. Plan the scope and budget, prepare the site, update core systems, confirm your insurance, choose flooring that suits each room, and finish with details that bring the design together. Keep this home renovation checklist close throughout the project, and update it as you go. With careful planning, your renovation can deliver a home that is more comfortable, more efficient, and better suited to the way you live.