

For any dedicated maker, artist, mechanic, or craftsman, the kitchen table or the shared family garage is a battlefield of constant compromise. Trying to advance a passion project while navigating a lack of space, hunting for misplaced tools, and constantly setting up and tearing down equipment is a recipe for creative frustration. There comes a time when every serious hobbyist realizes that to truly master their craft, they need a dedicated workspace engineered specifically for their workflow.
A truly successful workshop is far more than just a shell with a roof and electricity; it is a highly tuned ecosystem. When you design a workspace from scratch, you have a rare opportunity to control every variable, from structural layout and environmental stability to muscle mechanics and safety zones. A well-planned building protects your financial investment in machinery, prevents physical fatigue, and removes the friction that stands between your ideas and a finished physical product.
Building a custom workspace can feel like a monumental task, but breaking the project down into logical, chronological phases transforms it into an empowering journey. This guide will walk you through every step of creating a world-class workspace on your property. By learning how to prepare the site, evaluate architectural shells, manage legal engineering, and optimize the final interior layout, you will ensure a rewarding build that serves your creative passion for decades.
Preparing the Site: Laying a Flawless Foundation for Your Workspace
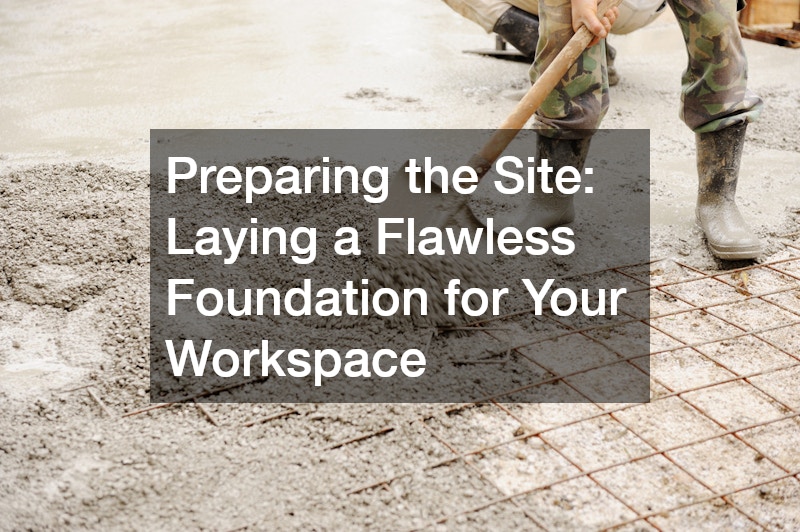
The ultimate success of your construction project depends entirely on the ground beneath it. Long before you begin ordering lumber or assembling walls, you must execute a thorough, professional assessment of your site’s topography, soil conditions, and municipal zoning rules. Skipping these critical structural prerequisites can lead to major foundational shifts, pooling groundwater, or expensive fines from local code enforcement boards later down the road.
The first step on your property involves evaluating the raw footprint of the future structure. You must check your county property lines, establish local setback boundaries, and determine how utilities like main electrical grids, water lines, and internet lines will safely travel to the site. Once the ideal physical position is marked, the physical earth must be altered to create a perfectly flat, level plateau. This phase often requires heavy equipment to remove deep obstacles:
- Subsoil Stabilization: Organic materials like thick tree roots, decomposing logs, and buried boulders must be entirely extracted, as they leave behind large subsurface voids when they rot, causing the building to tilt over time.
- Surface Grading: The surrounding soil must be sloped gently away from the building’s perimeter envelope to direct heavy rainwater runoff toward natural drainage ditches, preventing dampness from attacking the structure.
- Erosion Control: Installing temporary silt fences during the initial excavation prevents valuable topsoil from washing away into local waterways during sudden downpours.
To ensure your ground is prepared to handle the load of construction, it is vital to invest in professional land clearing services. A skilled excavation team will peel back unstable topsoil and establish a compacted clay sub-base that supports heavy loads.
Once the dirt work is completed, you must focus on the primary work floor. Because a hobbyist workshop frequently houses dense, heavy machinery like multi-horsepower table saws, metal lathes, automotive lifts, or bulky workbenches, standard residential soil prep will not suffice. Property owners should contract specialized concrete paving professionals to form and pour a heavy-duty, steel-reinforced monolithic slab. Incorporating thick rebar grids and a durable vapor barrier underneath the concrete prevents groundwater moisture from seeping up through the floor, protecting your precision iron tools from destructive rust.
Choosing the Architecture: Selecting the Ideal External Structure for Your Needs
With a solid concrete pad in place, the next major decision involves selecting the structural framing style that will enclose your workspace. The architectural shell must match the specific physical requirements of your craft. For instance, an automotive restoration hobby demands clear vertical clearance for lifts and wide overhead doors, while a delicate electronics or leatherworking setup prioritizes high-performance thermal insulation and precise ambient climate control.
One of the most popular and cost-effective architectural paths for large-scale hobby applications is the post-frame construction method. Utilizing a pole barn layout provides an exceptionally open, clear-span interior workspace. Because this architectural style transfers the building’s structural load directly down to deep, heavy-duty vertical posts embedded in the ground, it completely eliminates the need for internal load-bearing walls. This leaves you with a massive, uninterrupted volume of space that you can configure and modify at will as your hobby evolves over time.
For properties where traditional residential integration is a primary priority, traditional stick-frame construction offers an excellent alternative path. Building a standard detached garage structure ensures that your new workspace seamlessly mirrors the existing aesthetic, siding materials, and roof pitch lines of your main residential home:
- Drywall Integration: Stick-frame walls feature standard sixteen-inch stud spacing, making it incredibly simple to install interior insulation sheets and fire-rated drywall for a clean, bright look.
- Mezzanine Potential: The engineered roof trusses used in garage construction can easily be customized to include open storage lofts, keeping seasonal items out of your primary ground-floor work zone.
- Door Versatility: Traditional framing simplifies the installation of standard residential entry doors, multi-pane glass windows, and rolling insulated overhead doors.
Whichever architectural path you select, you must prioritize the building envelope during the structural framing phase. Installing a high-performance house wrap and integrating complete radiant barriers beneath the roof decking prevents extreme summer heat and winter frost from penetrating the building. Properly sealing the outer envelope during early construction ensures that your future heating and air conditioning units operate with maximum energy efficiency, keeping your creative space comfortable during the entire year.
Orchestrating the Build: Navigating Permits, Engineering, and Contractor Logistics
Transforming a set of architectural blueprints into a physical, code-compliant outbuilding requires a high level of project management and logistical coordination. Many homeowners underestimate the bureaucratic steps involved in expanding a property’s footprint. Before a single piece of timber is delivered, you must secure official building permits from your municipal building department, verifying that your design complies with regional wind-load regulations, local snow-load thresholds, and fire safety codes.
For large-scale wood or metal projects, working with an experienced, specialized barn builder can save you months of construction delays. A specialized structural installer possesses the custom hydraulic lifting equipment, scaffolding systems, and specific framing knowledge required to erect large timber columns and long clear-span roof trusses safely and efficiently. They understand how to properly anchor structural beams to concrete pads to withstand extreme weather events.
However, a complete workshop project involves far more than just framing and roofing. You must orchestrate a complex sequence of secondary trades, including trenching main electrical lines from the house, installing dedicated sub-panels, plumbing utility sinks, and executing mechanical insulation. Managing this rotating cast of specialized trades can quickly become a full-time job.
To ensure the project moves smoothly without expensive mistakes, savvy property owners hire a licensed general contractor to manage the entire master plan. A qualified project manager coordinates the material delivery timelines, schedules the precise sequence of subcontractors, manages budget allocations, and ensures that the structure passes every mandatory municipal structural and electrical inspection. This comprehensive oversight frees you up to focus on designing the ultimate interior layout of your future dream studio.
Scaling the Footprint: Alternative Building Styles for Smaller Properties or Specialized Hobbies
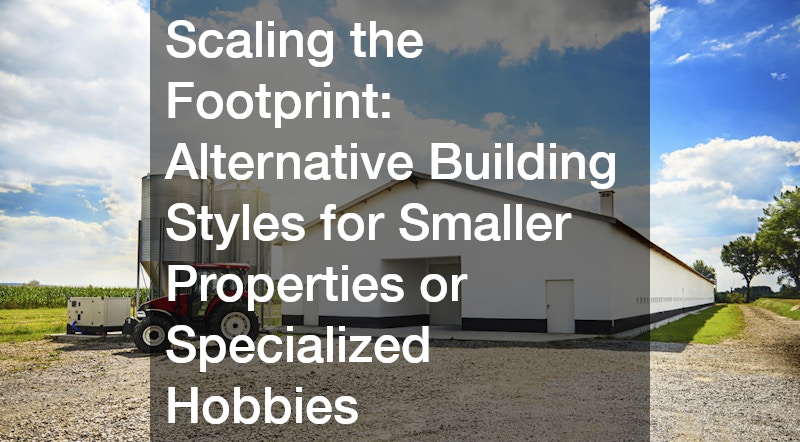
Not every hobbyist has access to multi-acre rural lots that can easily accommodate massive outbuildings. If you live on a modest suburban lot or participate in an artisan craft that requires precise, condensed equipment, you must adapt your architectural strategy to a smaller, more refined scale. Fortunately, a highly efficient, world-class studio can easily be engineered within a compact footprint if you utilize smart space-planning principles.
When dealing with a micro-workshop under three hundred square feet, standard commercial building methods can become cost-prohibitive. In these scenarios, collaborating with a dedicated shed builder represents an incredibly efficient and customizable path forward. Modern shed construction has evolved far beyond basic backyard tool storage units; you can design a custom-ordered, heavily framed outbuilding delivered directly to your yard on a specialized flatbed trailer:
- Factory-Controlled Precision: Pre-fabricated sheds are built indoors in controlled environments, ensuring perfectly plumb framing lines and tight structural joints that surpass traditional field construction.
- Rapid Installation: Because the building arrives fully assembled or in pre-engineered panels, your on-site construction disruption is reduced from months to just a few days.
- Aesthetic Customization: You can specify custom options like window placements, fiberglass entry doors, built-in workbench supports, and architectural shingle trim to perfectly match your home.
This flexible construction philosophy can also be modified to accommodate specialized outdoor and agricultural pursuits. For example, if your passion involves equestrian sports, animal husbandry, or large-scale outdoor fabrication, you can work with construction teams to adapt basic framing footprints into durable covered horse structures.
These versatile open-air configurations feature deep roof overhangs and heavy timber posts that can serve as outdoor metal welding bays, sheltered tractor maintenance stations, or open-air lumber drying kilns. Adapting these agricultural designs allows you to complete heavy, messy tasks outdoors while keeping your primary electronic tools safely sealed inside a dry, clean indoor zone.
Ergonomics and Beyond: Zonation, Utilities, and Multi-Purpose Wellness Zones

Once the exterior shell is fully enclosed and verified by building inspectors, your focus can shift to the interior layout. The internal arrangement of your tools, storage units, and utility drops will dictate how comfortable and efficient you feel during long hours of fabrication. To minimize physical fatigue and unnecessary steps, you should structure your workshop layout around the classic manufacturing work triangle: material storage, processing machinery, and final assembly benches.
Lighting and electrical distribution require careful planning before you finalize your walls. You must install a dedicated sub-panel that offers plenty of open breaker slots for future expansion. Distribute separate twenty-amp circuits along your walls at chest height, ensuring that power tools don’t overload a single circuit and trip the main breakers. For lighting, move away from old, buzzing fluorescent tubes and install a balanced grid of 5000K LED task fixtures. Placing these lights directly over your main work surfaces eliminates dark shadows, prevents eye strain, and ensures accurate color rendition for detailed painting or finishing work.
In modern properties, large outbuildings are rarely limited to a single mechanical function. Many homeowners leverage the large footprint of a new building to create multi-purpose lifestyle zones that blend productivity with personal wellness:
- Dedicated Fitness Zones: Setting aside a private, rubber-floored corner of a large workshop allows you to create an ideal space for a personal trainer studio or a comprehensive home gym, helping you stay physically fit without commuting to a public facility.
- Dust Isolation Walls: If you combine a fitness area with a woodworking shop, ensure you build a floor-to-ceiling partition wall outfitted with a dedicated dust-collection vacuum system to keep your workout air clean and allergen-free.
- Ergonomic Flooring: Install anti-fatigue interlocking foam mats in front of your primary workbenches to cushion your joints when standing on hard concrete for extended project sessions.
Finally, a truly holistic workshop design looks beyond the physical work itself and plans for the recovery period that follows hard manual labor. Spending ten hours lifting heavy lumber, turning steel parts, or wrenching on vehicle frames can take a heavy toll on your muscles and joints.
To create the ultimate post-project retreat, many builders extend their concrete patio slab out beyond the main workshop bay doors to install high-performance, affordable hot tubs. Integrating a dedicated relaxation pad right outside your creative studio creates a rewarding transition zone where you can soothe sore muscles, unwind with family, and reflect on a successful day of hands-on creation.
Conclusion
Designing and executing a custom hobby workshop from the ground up is the ultimate milestone in any maker’s creative journey. It is a profound declaration that your passions, skills, and personal fulfillment are worthy of a dedicated home. While the construction process requires a significant commitment of time, capital, and organizational energy, the long-term return on investment is unparalleled.
By taking a systematic approach to site preparation, choosing the right structural framework, navigating structural engineering requirements, and optimizing internal ergonomics, you transform a simple building into an inspiring sanctuary of productivity. Do not let another year slip away while you struggle with cramped corners and disorganized tools. Take the first step today by sketching out your ideal layout, analyzing your property boundaries, and assembling a team of trusted professionals who can transform your ultimate dream workshop into a functional physical reality.